Introduction to light metering
Light meters are light sensing devices that are good at quantifying light. They help you to create well-exposed photograph.
We know two variations: reflected or incident light meters.
Reflected light meters
They measure the light reflected by the scene to be photographed. All in-camera meters are reflected-light meters. They are calibrated to show the appropriate exposure for “average” scenes. Which has some limitations. For instance, badly underexposed sunset photos are common exactly because of this effect as the brightness of the sun fools the camera’s light meter.
Incident light metering

An incident meter meters the light source itself. It does not point at or see the subject, so it does not matter if the subject is white or black, the light meters the same. Black things will come out black and white things will come out white.
You make a reading by holding the meter right up to the subject so that its sensor points in the direction of the camera. In this way, you measure the intensity of the light falling on the subject from the camera’s point of view.
If you’re not close enough to hold the sensor up to the subject, simply hold it above you with the sensor pointing backwards over your shoulder. As long as you and the subject are in the same light, everything will be fine.
Practical example

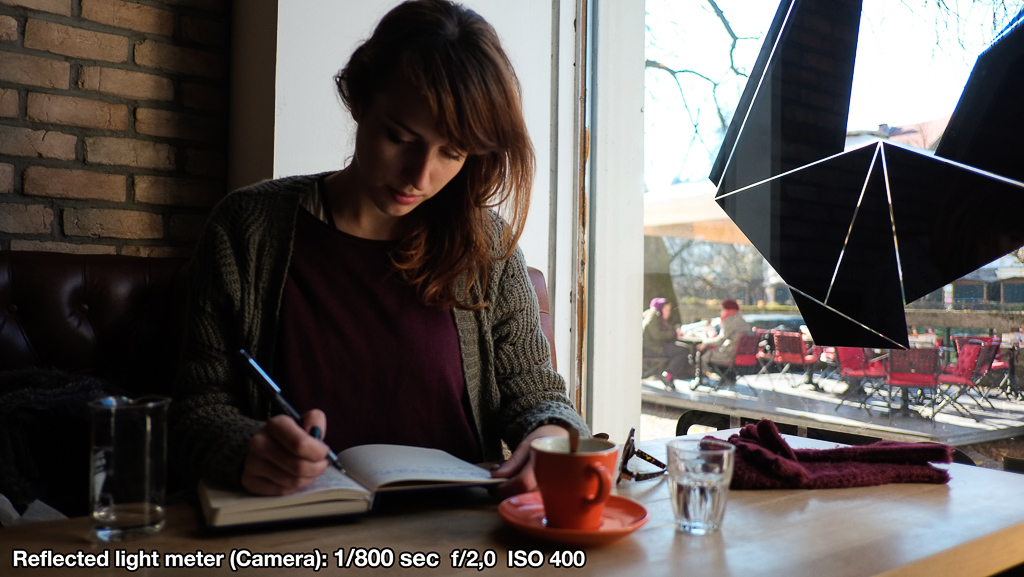
First photograph, camera set to Auto Measuring Mode: subject is underexposed due to extremely bright background.

Second photograph, measured with Lumu (at the marked point): subject is correctly exposed.
Incident light meter reads the amount of light illuminating the subject, not light reflected from the subject, so the meter ignores the subject and background characteristics.
This makes incident type of metering be independent of the subject and it’s colors, and therefore, directly reading the incident light is more nearly always “correct”, regardless of subject (dark things come out dark, and bright colors things come out bright).
Averaging multiple incident light measurements
Sometimes we take photographs at the places with extreme high contrast, where one measurement (incident or reflected type) isn’t enough for the most acceptable exposure.
That’s when we take multiple measurements across the place and calculate the middle point between them:

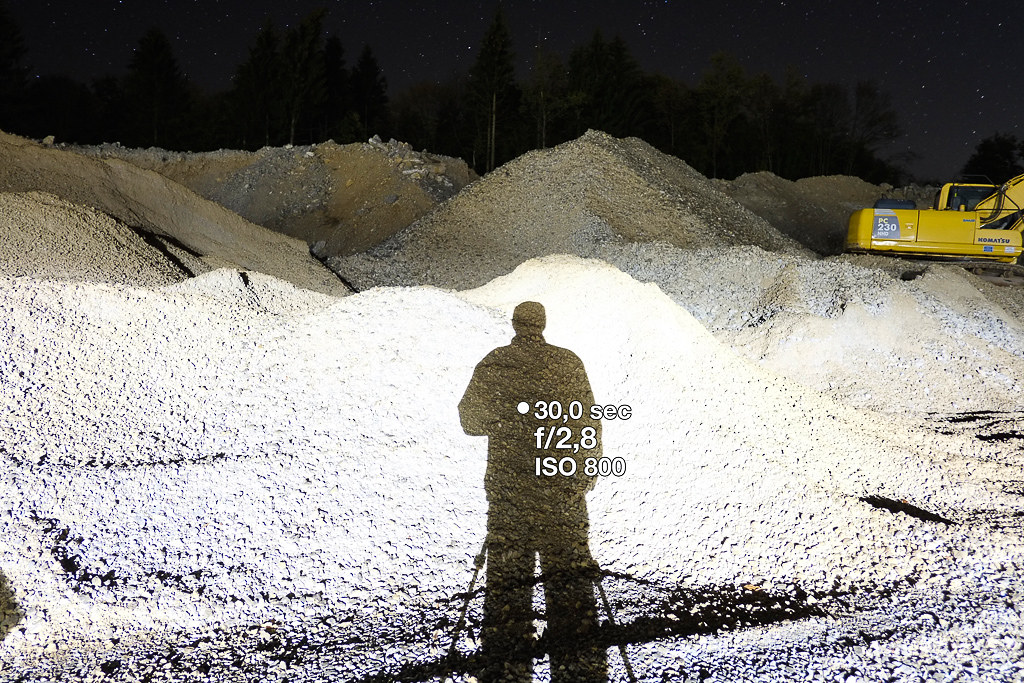
First photograph: measured at the shadow.
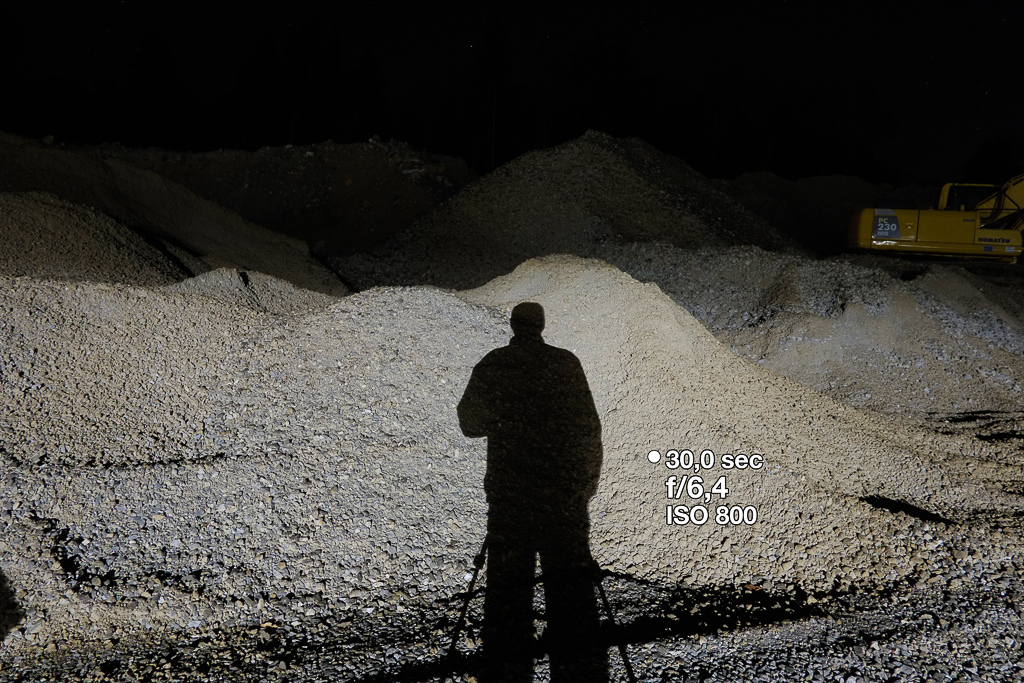
Second photograph: measured at the illuminated part of the scene.

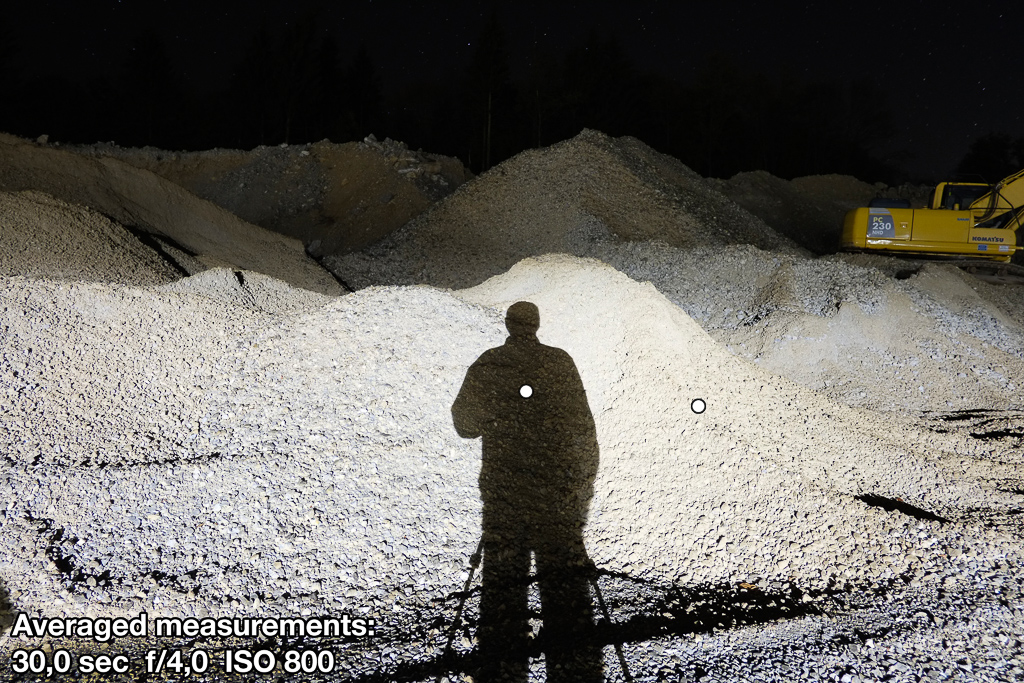
Third photograph: Lumu calculated middle point between both measurements. The resulting photograph is the best compromise between very dark and bright parts of the scene.


