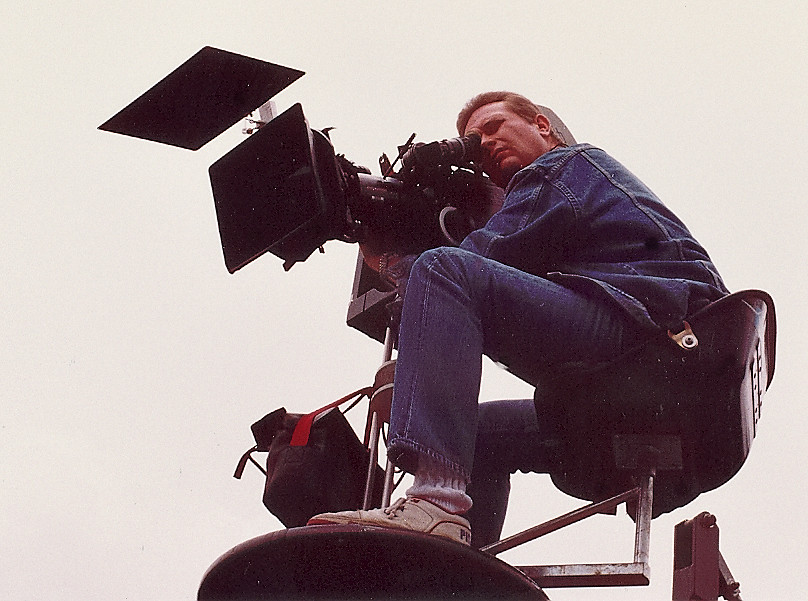
Featured cinematographer #1: Lars-Göran Hedström

What did you want to become in the childhood? I wanted to be a cinematographer very early in life. I got my first double 8 camera, a Yashica U-Matic 8, at age 10.
What’s been your greatest accomplishment as a photographer so far? The favorite photograph you took, the craziest thing you ever did as a photographer? My favorite moment as a cinematographer was when I received a first and second prize at Swedish Public Relations Society’s yearly short film contest.
Every new shot is my favorite. Every new assignment is the best.
What do you want to achieve? What do you think is the greatest power of photography? To communicate with pictures, moving or still, to give the viewer an emotional experience elucidating the human condition.
What do you carry around in your camera bag? How it affects your process?
When not shooting moving pictures I always carry one of my Leicas. M4-P or M7 for analogue photography (which I prefer) and my Leica M9, or the latest addition, a Leica T which I love. And my iPhone 5 with Lumu software & hardware for setting the correct exposure for the mood I like to communicate, which I previsualize, of each motif.
Therefore, most of the time I work my cameras in manual mode.
Describe us your workflow. What do you think are the elements that make someones work better, greater? I always try to get the most out of my digital and film cameras, as well as get the correct exposure for the mood I want to communicate. I use a separate light meter and the zone system, conceived by Ansel Adams and Fred Archer in the 1940s, to reach the limit of my photographic material. I use the latest Lumu software that allows me to convert my iPhone5 to a light meter (or as Bruce Barnbaum prefers to call it - grey meter!) for measuring both incident - and reflected light. A must if you, as I am, into zone system methodology. I am really impressed by the precision and consistency of the measured value by the Lumu/iPhone combo. As a cinematographer, I’ve always worked by measuring the incident light on the scene. When measuring incident light the reference for the lightmeter is zone 5 or 18% grey (or the reflectance of caucasian skin, to get caucasian skin correctly exposed. Though I consider that nordic skin is in zone 6 to 7. Zone 5 renders the nordic skin tone too dark.)
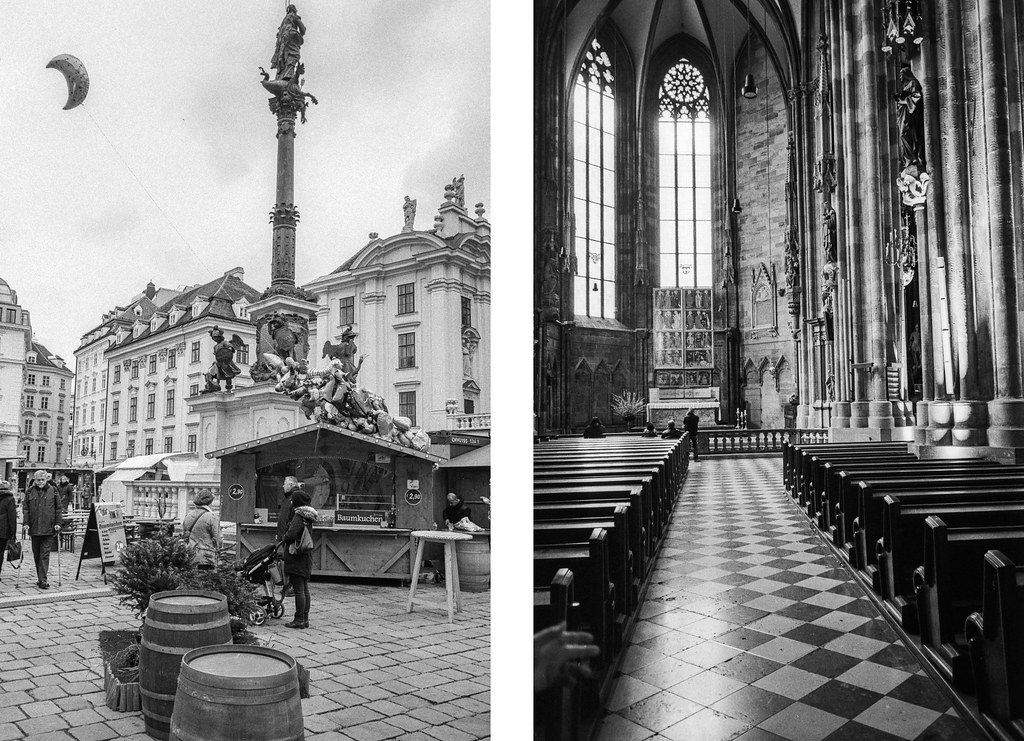
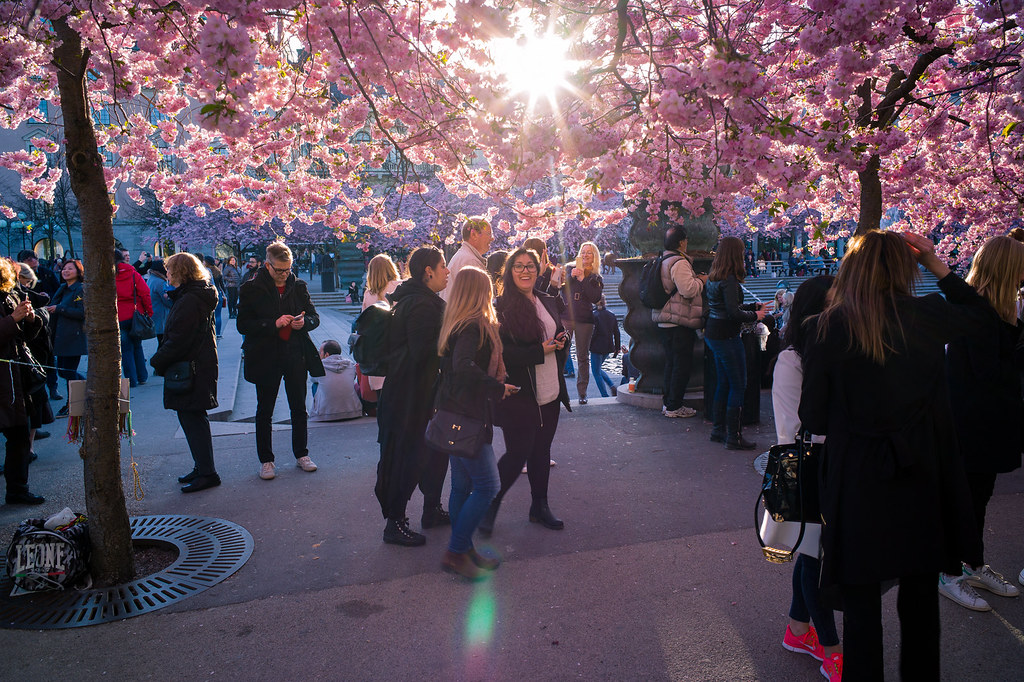
Working in studio and setting the light infer no problem, but problem occurs on location when my camera is placed in a shadow and my motif is in bright sunlight or vice versa. Under those circumstances I have to walk out into the bright sunlight or into the shadow area to get a correct measurement. I may also spotmeter a grey (18%) area in the scenery. Yet another trick is to measure the reflected light from the inside of my palm (around 18-20% reflection — beware of shadowing the palm with the light / greymeter). If you are searching for the optimum exposure for your equipment and the mood you pursue, you need to utilize the zone system as it is meant to be used. If I, for instance, like to give tree stems in my picture a brighter tone, I have to use the zone system. I always start with a incident light measurement. Say that the average brightness in zone 5 of my wood scenery give me at ISO 100 an aperture of 11 and a shutter speed of 1/250. Then I measure the tree trunks close up (spot metering or walk up to the trunks with my iPhone 5 + Lumu combo set for direct measurement. The Lumu light meter is sort of semi spot measuring light meter. With Lumu in reflected light you measure just with a tap on the screen where you would like to make your measurement) and I read 5,6 at 1/250. It means that my tree trunks are in zone 3 (one zone/f stop). To get the mood I pursue or pre visualized I need to get the trunks in zone 5. They need to be brighter. To bring the trunks to zone 5 I have to set my aperture at 2,8. But that, on the other hand, it means that the average brightness of the scenery will be in zone 7. This is fine so long as the brightest part in my scenery won´t be placed in a zone above 10 to 12.
The whole idea behind the zone system is a brightness range of 0 to 10. One f-stop per step 0 to 10. Zone 0 means that it’s pitch black. At zone 2 there are some discernible nuances to be seen not completely black. At zone 3 you’ll be able to see details. On the other end, at zone 8, it’s bright with clearly defined details. Zone 9 is white with hardly discernible nuances to be seen. At zone 10 it’s all white, no details. If you, like me, use special developing techniques of negative silver based film you’ll be able to expand the zone range to as much as 12 (or as Bruce Barnbaum argues in his books “The Art of Photography” & “The Essence of Photography” you can reach zone 15 to 17 with silver based analogue technology using the appropriate developing and printing technique!).
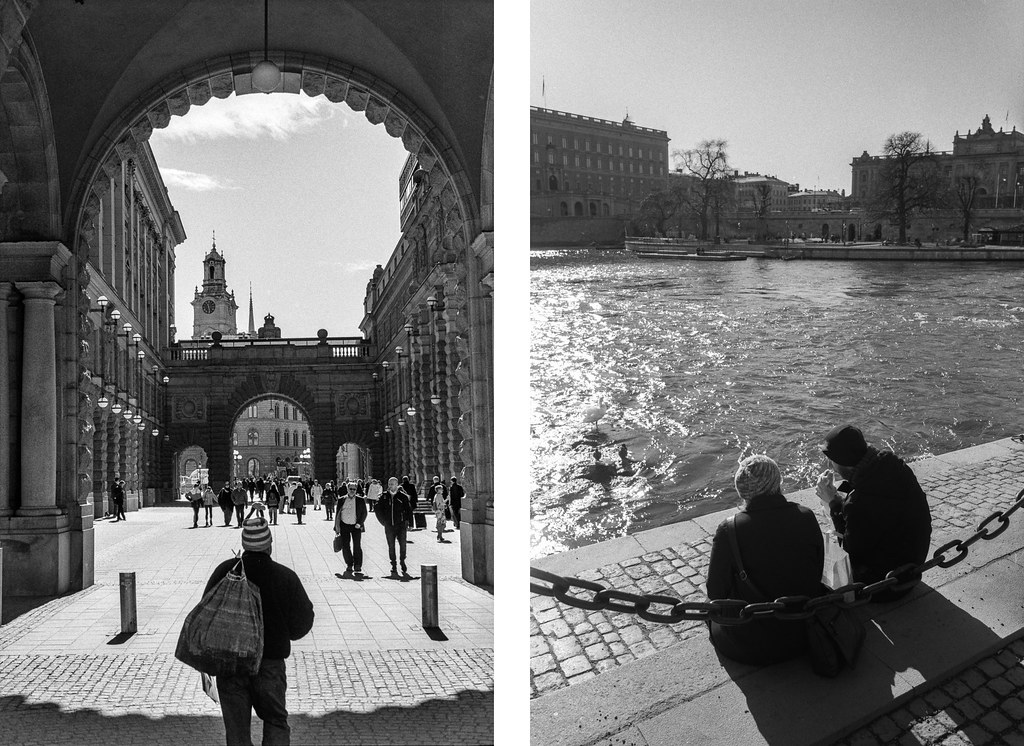
Nice thing with Ag based technology is that the highlights compress as it is getting brighter. Highlights are never blown out! Though, using reversal silver based film diminish zones possible to capture only to 7. If you are into digital you can manage to avoid blown out highlights using the zone system and a separate light meter without referring to the histogram in your digital camera. By using Lumu and it’s app in my iPhone 5, it gives me a reliable incident and reflected light metering. All this will take some time and when shooting street you won’t have time to do all these necessary measurements and reflecting on where I placed zone 5 in my scene. When I’m out on the streets I make one incident measurement in bright sunlight and one in the shadow (and perhaps a third in half shadow). Then I add one and a half f-stop to my measured f-stops (to compensate for our bright skin tones in scandinavia) and try to remember the f-stops in sunlight and shadow to be able to adjust my exposure after where my motifs are placed. As always I work in completely manual mode. Resulting in more even negatives and RAW files. And when in doubt, I depend on the good old “Sunny 16 rule”.
If you could give one piece of advice to fellow photographers, what would it be? Learn to previsualize your shots and use the zone system wisely. That will render negatives and RAW files with perfect tonality and non muddy, noisy shadows in post whether you make silverprints in darkroom or work in Lightroom / Photoshop.
Links to your work, or any other link you would like to share with other people.
My pictures on Flickr at https://www.flickr.com/photos/leicaswede/
My Leica blog on http://sculptingwithlight.blogspot.se